IN THIS ARTICLE
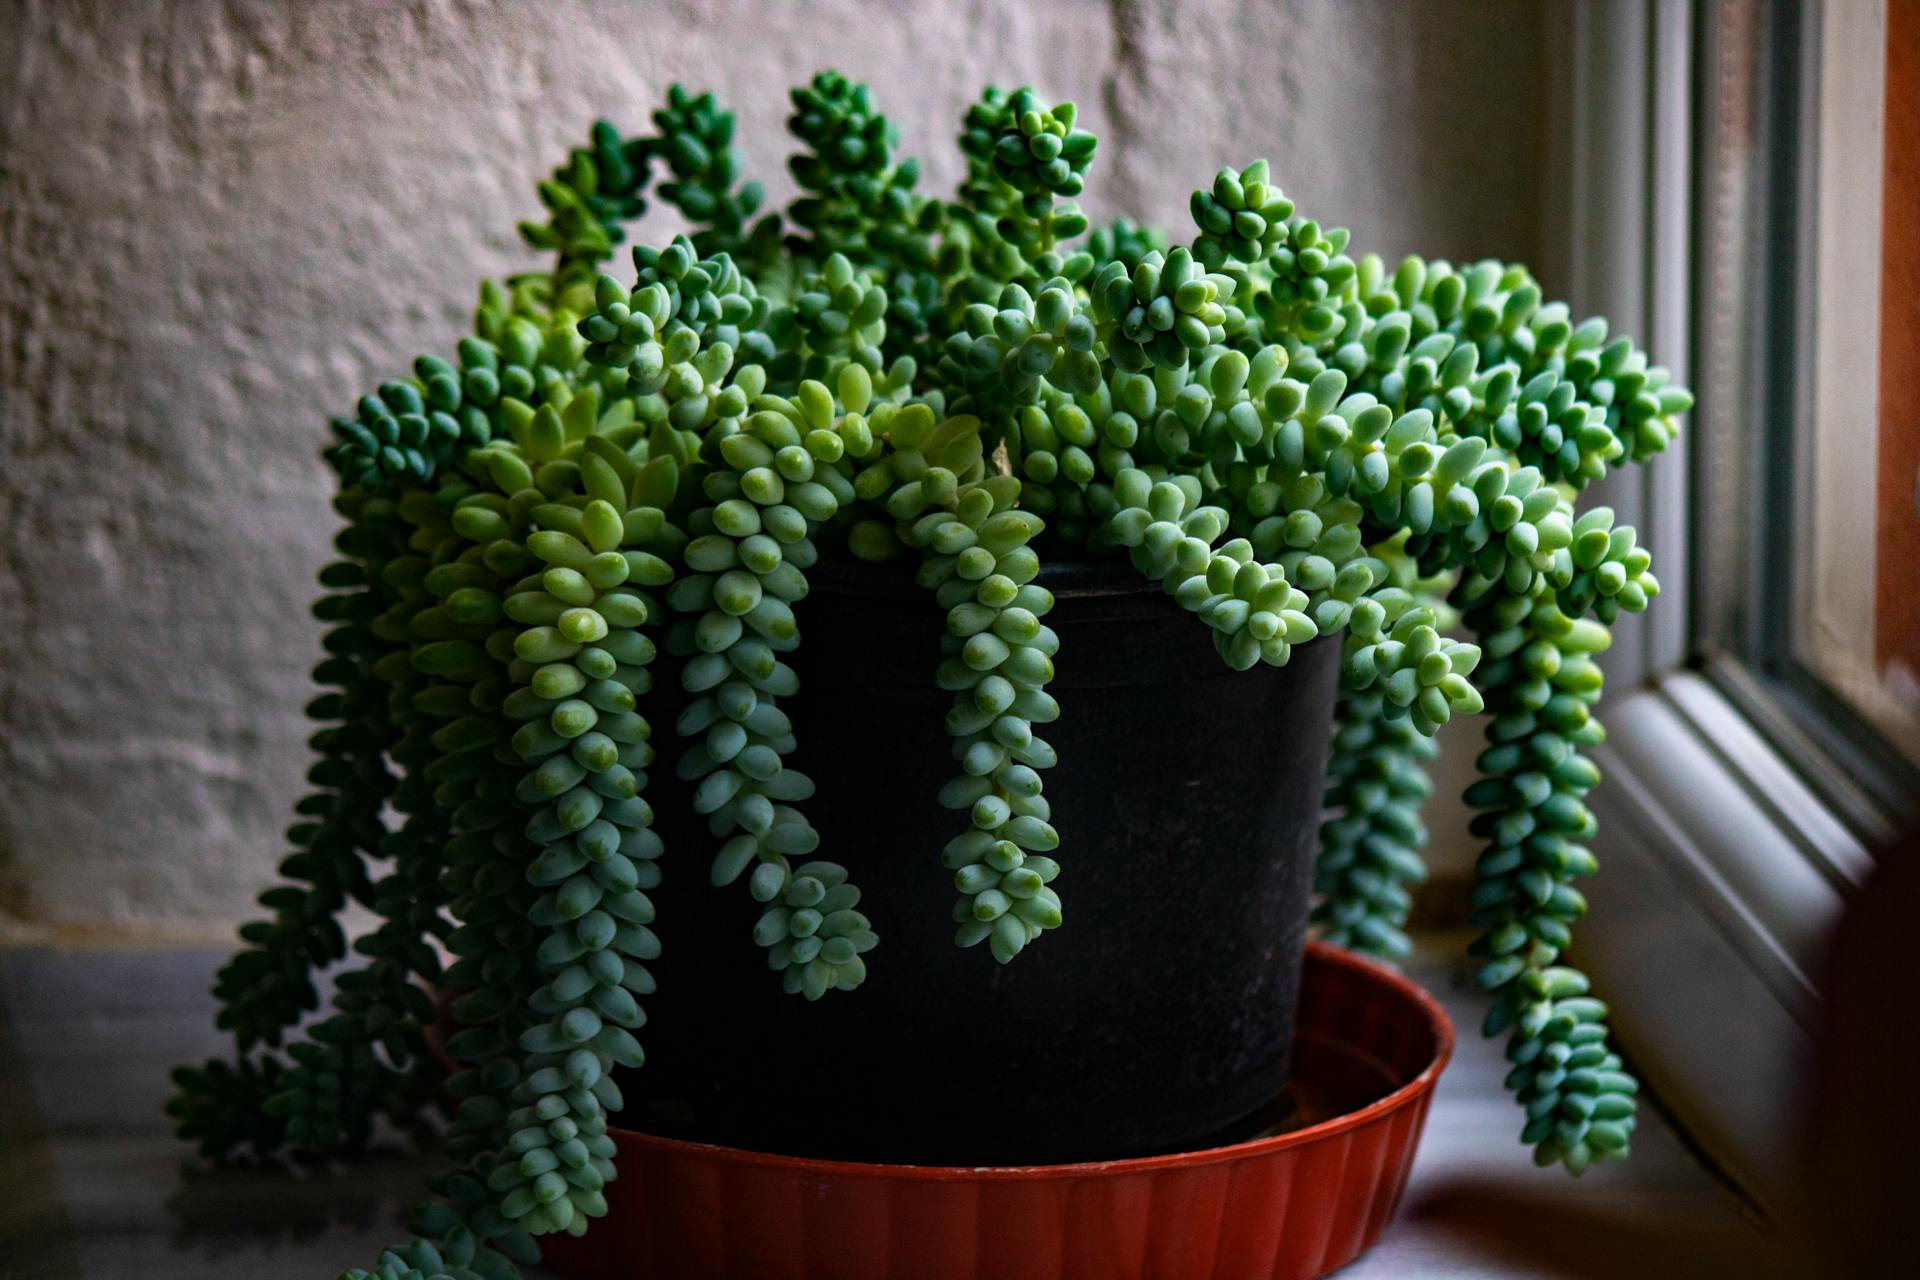
Sedum morganianum is a popular succulent with a unique appearance. It is commonly known as “Burro’s tail” or “Donkey’s tail”,because its long stems are said to be similar to a donkey’s tail. This charming plant is native to southern Mexico and Honduras, where it thrives in warm, arid climates.
Are you interested in adorning your house with Burro’s Tail plant’s trailing stems but afraid you might not maintain it and care for it?
Do not worry, in this comprehensive guide we have covered everything from buying the burro’s tail to watering and pest prevention. Keep reading and you will have the confidence to grow and care for Burro’s Tail indoor plant.
| Botanical Name | Sedum morganianum |
| Family | Crassulaceae |
| Plant Type | Succulent |
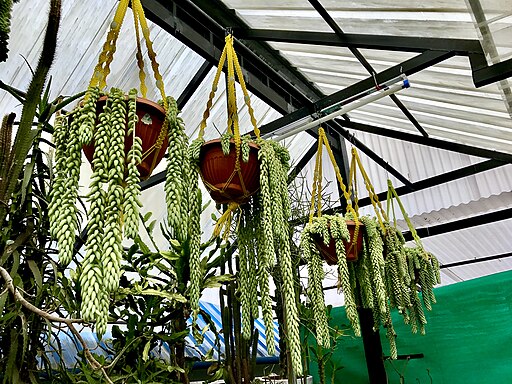
| Mature Size | 1-4 feet long (as a trailing plant) |
| Sun Exposure | Full sun to partial shade |
| Soil Type | Well-drained, sandy soil |
| Soil pH | Neutral to slightly alkaline (6.0-7.5) |
| Bloom Time | Summer |
| Flower Color | Pink, red |
| Hardiness Zones | 9-11 (USDA) |
| Native Area | Mexico, Honduras |
Types of Burro's Tail Plants
Here a quick look on the types of burro’s tail plant, each with unique features and benefits:
| Name | Grown Indoors? | Unique Features |
|---|---|---|
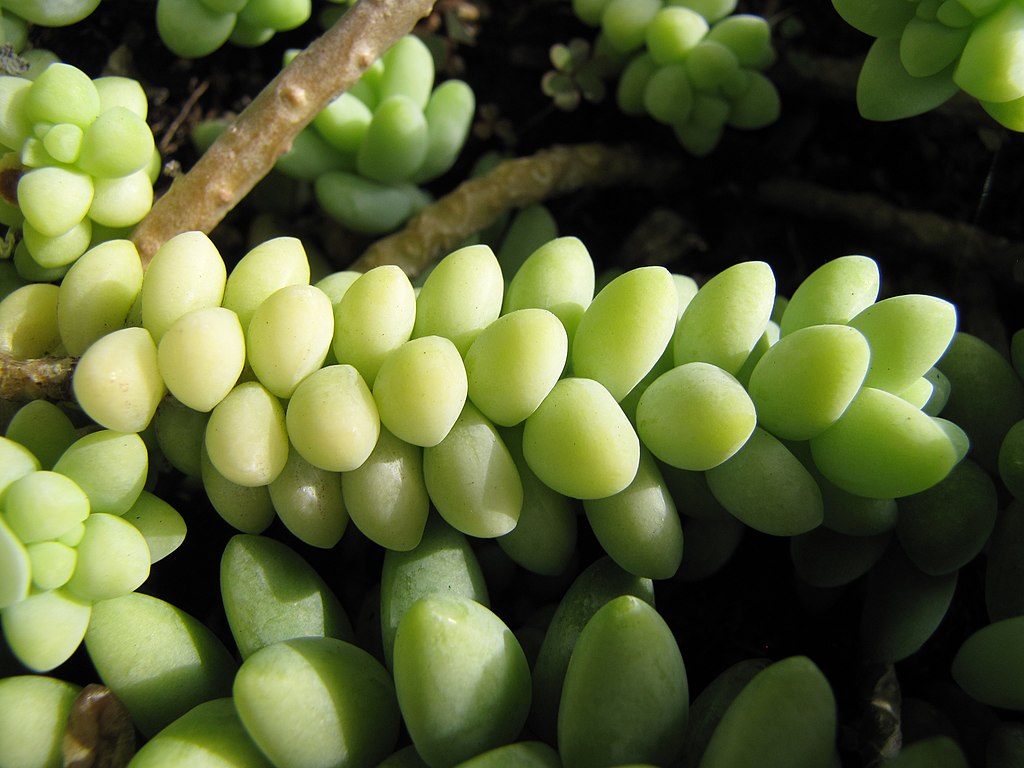
| Classic Burro’s Tail (Sedum morganianum) | ✓ | Long, trailing stems with plump, blue-green leaves. |
| Variegated Burro’s Tail | ✓ | Green and white variegated leaves, more delicate growth. |
| Miniature Burro’s Tail | ✓ | Smaller, denser leaves, compact growth habit. |
| Curly Burro’s Tail | ✓ | Curled leaves, more unusual and decorative appearance. |
| Golden Sedum (Sedum adolphii) | ✓ | Golden-yellow leaves, often with reddish tips. |
How to choose the right Burro's Tail plant
If you are at a nursery then you should know what you have to look for when selecting the Burro’s Tail plant from the nursery for the best result. We have compiled some simple tips:
| Look for | Comments |
|---|---|
| Lively color | Choose plants with vibrant, healthy-looking leaves. Avoid plants with dull or discolored foliage. |
| Sturdy leaves | Select plants with firm, plump leaves. |
| Roots | Healthy roots should be white or light tan and firm to the touch. Avoid plants with dark, mushy, or foul-smelling roots. |
| No damage | Ensure there are no broken stems or damaged leaves. |
| No disease | Look for signs of disease, such as spots, mold, or mildew. |
| Size | Consider the size of the plant in relation to where you plan to grow it. Larger plants may need more space. |
| Shape | Opt for a plant with a balanced, symmetrical shape. Avoid plants that appear lopsided or uneven. |
| Environment | Light: Bright, indirect light to partial sun. Temperature: 65-75°F (18-24°C). Soil: Well-draining. Humidity: Low to moderate. Air Circulation: Good air circulation. |
Choosing the Right Pot and Soil
Best pot for Burro's Tail Plant
Terracotta pots are the best pot for Burro’s Tail plant because they are porous and allow for better air circulation around the roots, helping the soil dry out faster.
| Pot | Specification | Recommended Dimensions (Width x Height) | Comments |
|---|---|---|---|
| Terracotta | Porous, breathable material | 6-8 inches x 4-6 inches | Ideal for Classic Burro’s Tail. Good airflow and drainage. Dries quickly. |
| Plastic | Non-porous, lightweight, retains moisture longer | 6-8 inches x 4-6 inches | Suitable for Variegated Burro’s Tail. Retains moisture. Ensure drainage. |
| Ceramic | Durable, retains moisture | 6-8 inches x 4-6 inches | Ideal for Miniature and Curly Burro’s Tail. Stable. Needs drainage holes. |
| Concrete | Heavy, stable | 8-10 inches x 6-8 inches | Suitable for Golden Sedum. Stable, insulating. Ensure drainage. |
| Grow bag | Breathable, promotes root health | 6-8 inches x 8-10 inches | Great for all varieties. Promotes root health. Needs support for stems. |
Best soil for Burro's Tail Plant
The best soil mix for burro’s tail succulent plant is one that doesn’t hold onto too much moisture.
| Soil | Best Mix | Comments |
|---|---|---|
| Propagation | 50% potting soil 25% Perlite 25% Coarse Sand Mix | Check out how to make your own mix here or buy a readymade Seed Starting Mix. |
| Potting Mix for Indoors | 50% potting soil, 50% perlite or coarse sand | Buy a readymade Cactus/Succulent Potting Mix. |
| Potting Mix for Outdoors | 40% potting soil, 40% perlite, 20% coarse sand or gravel | Buy a readymade Cactus/Succulent Potting Mix for outdoor use. |
Additional Tip:
Do not use regular garden soil or heavy soil that retains too much water.
Propagating Burro's Tail plant: Step-by-Step Propagation
There are two common methods for propagating burro’s tail plant: one is stem cutting and other is leaf cutting.
| Propagation Method: | Recommended | Difficulty | Comments |
|---|---|---|---|
| Stem Cutting | ✔ | Easy | Simple method, cut stems, allow to dry, then plant. |
| Leaf Cutting | ✔ | Easy | Easy propagation method from healthy leaves. |
| Seed | ✘ | Hard | Less recommended due to slow growth and variability. |
| Bulb | ✘ | Not Applicable | Burro’s Tail plants do not produce bulbs for propagation. |
| Division | ✘ | Not Applicable | Not commonly used for Burro’s Tail. |
| Layering | ✘ | Not Applicable | Not commonly used for Burro’s Tail. |
| Grafting | ✘ | Hard | Not typically used for Burro’s Tail. |
Preparation for propagating the Burro's Tail Plant:
| Topic | Items | Comments |
|---|---|---|
| Safety | Gloves & Scissors | |
| Source | Stem or Leaf Cutting | Get your selected source item for propagation. |
| Soil | Propagation Mix | Use or make the appropriate propagation mix for best results. |
| Pot | Terracotta Pot | |
| Others | Repotting Mat | A good repotting mat constraints the mess created during the procedure. |
Propagating from Stem Cuttings:
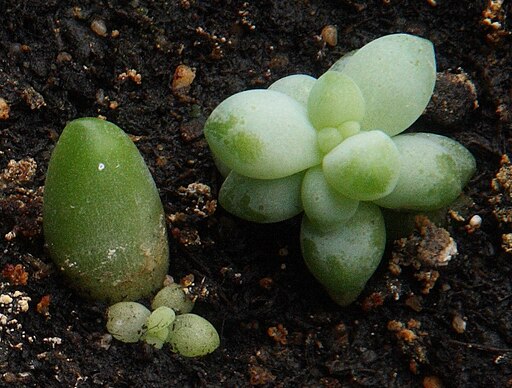
- Select a Healthy Stem: Choose a healthy, mature stem with plenty of plump leaves and no signs of damage or disease.
- Cut the Stem: Make a clean and straight cut about 4-6 inches long stem segment using a scissors or pruning shears.
- Let it Callus: To allow the cut end to dry out and form a callus, place the cut stem in a dry, shaded area for about 2 to 3 days.
- Plant the Stem: Use a well-draining small pot and succulent mix soil. Bury the callused end of the stem about an inch deep and gently place the soil around the stem to hold it in place.
- Water Sparingly: Lightly water the soil, but don’t soak it. Overwatering can cause the stem to rot.
- Provide Bright, Indirect Light: Place the pot in a bright spot with indirect sunlight. Too much direct sun can scorch the new growth, while too little light can slow down the rooting process.
Propagating from leaf cutting: How to grow burro's tail from leaves?
- Select Healthy Leaves: Pick a few healthy leaves from the plant.
- Let the Leaves Callus: Place the leaves in a dry, shaded area for 2-3 days to allow the ends to callus. This step is important to prevent the leaves from rotting when planted.
- Place on Soil: Lay the callused leaves on top of well-draining soil. You don’t need to bury them; just place them on the surface.
- Mist the Leaves: Lightly mist the soil and leaves with water. Keep the soil slightly moist but not wet. Mist the soil every few days as it dries out.
- Provide Bright, Indirect Light: Place the pot in a bright spot with indirect sunlight. New roots and tiny plants will begin to form at the base of each leaf in a few weeks.
How to Grow Burro's Tail Plant Indoors
Growing the Burro’s Tail plant indoors is easy. This succulent thrives in well-draining soil and can be propagated easily from its stem cuttings. After propagation or plantation, place the plant near a bright window to ensure it receives plenty of indirect sunlight.
How to Grow Burro's Tail Plant Outdoors
To grow the Burro’s Tail plant outdoors, we have to get the plant from a nursery or propagate it from stem cuttings or leaf cuttings. But keep in mind to choose a location with bright, indirect sunlight, as too much direct sun can scorch the leaves.
How to Care for Burro's Tail Plant
Here is the brief information on lighting, watering and all basic care needs of your Burro’s Tail plant:
| Needs | Ideal State | Avoid | Frequency (if applicable) | Recommendations |
|---|---|---|---|---|
| Light | Bright indirect sunlight to partial sun. | Direct, intense sunlight | N/A | Place near a south or west-facing window for optimal light exposure. |
| Air Circulation | Keep in a well-distanced space | Stagnant air | N/A | Ensure the plant is in a well-ventilated area, especially indoors. |
| Watering | Allow soil to dry out completely between waterings | Overwatering | Fall and winter: once a month Spring and summer: every 2-3 weeks | Water less frequently in winter. |
| Fertilizer | Use diluted fertilizer | Fertilizing in fall/winter, Using strong fertilizer | Monthly | Fertilize during the growing season. |
| Temperature | Warm temperatures (65-75°F or 18-24°C) | Extreme heat above 90°F (32°C) or frost below 50°F (10°C) | N/A | Keep the plant in a stable environment. |
| Humidity | Low to moderate humidity levels. | High humidity | N/A | Mist the plant occasionally, but ensure good air circulation to prevent excess moisture buildup. |
| Pruning | Remove dead or leggy growth | Over-pruning | As needed | Prune if you want bushier growth. |
| Repotting | Repot every 2-3 years as needed | Frequent repotting | Every 2-3 years | Repot in spring to early fall. |
| Pest Control | Inspect regularly and use natural pest control methods | Overlooking pest infestations | As needed | Use natural or chemical treatments as necessary. |
How to prune burro's tail plant and remove dead leaves
Remove any dead or shriveled leaves by pinching them off at the base. Prune long, leggy stems by cutting them back to maintain a compact shape. You can use the pruned stems to propagate new plants!
How to Repot the Burro's Tail Plant Step by Step
Signs that indicate the need for repotting Burro's Tail Plant:
- Roots are growing out of the drainage holes.
- The plant appears top-heavy or unstable in its pot.
- Soil dries out too quickly, indicating it’s compacted or depleted.
- Growth has slowed down or the plant looks unhealthy despite proper care.
Choosing a New Pot and Soil for Burro's Tail Plant:
- New Pot: Select a pot that is one size larger than the current one, with good drainage holes. Terracotta pots are ideal because they help the soil dry out faster.
- Soil: Use a well-draining soil mix, such as a cactus or succulent mix. You can also mix regular potting soil with coarse sand and perlite for better drainage.
Steps for repotting Burro's Tail plant:
- Unpotting:
- Remove the Burro’s Tail plant from its current pot. remove the Burro’s Tail plant from its current pot.
- Check for any damaged or rotting roots and trim them off with clean scissors.
- Planting:
- Fill the bottom with a layer of fresh, well-draining soil.
- Position the plant in the new pot and fill in around it with fresh soil, making sure the roots are well-covered and the plant is stable.
- Watering:
- Lightly water the plant after repotting. Allow the soil to dry out before the next watering to prevent root rot.
burro's tail plant Common Problems and Solutions
Yellowing, wilting or soft leaves and root Rot in burro's tail plant
Root Cause: The most common problem in Burro’s Tail plant is overwatering. Small flying bugs like fungus gnats are attracted to moist soil.
Solution: Let the soil dry out completely between waterings and use sticky traps.
Leaf Drop and Leggy Growth in burro's tail plant
Root Cause: The insufficient light can cause some problems like falling off leaves, stems becoming long and stretched out.
Solution: To tackle this move the plant in a bright place with indirect light and prune back leggy stems.
Pests in Burro's tail plant
Root Cause: The pest like mealybugs and aphids occasionally infest the stems.
Solution: If you observe something like that then wipe leaves with a cotton swab dipped in rubbing alcohol to remove pests.
Conclusion
In conclusion the Burro’s Tail (Sedum morganianum) is a unique succulent for your home. You already know everything about caring for the Burro’s tail plant from this article.
By selecting a healthy plant, choosing the right pot and soil, and providing proper light, water, and temperature conditions, you can ensure your Burro’s Tail thrives.
It’s propagation is also straightforward, allowing you to expand your collection or share with friends. Regular maintenance, including pruning and repotting, along with some pest control, will keep your plant healthy and vibrant.
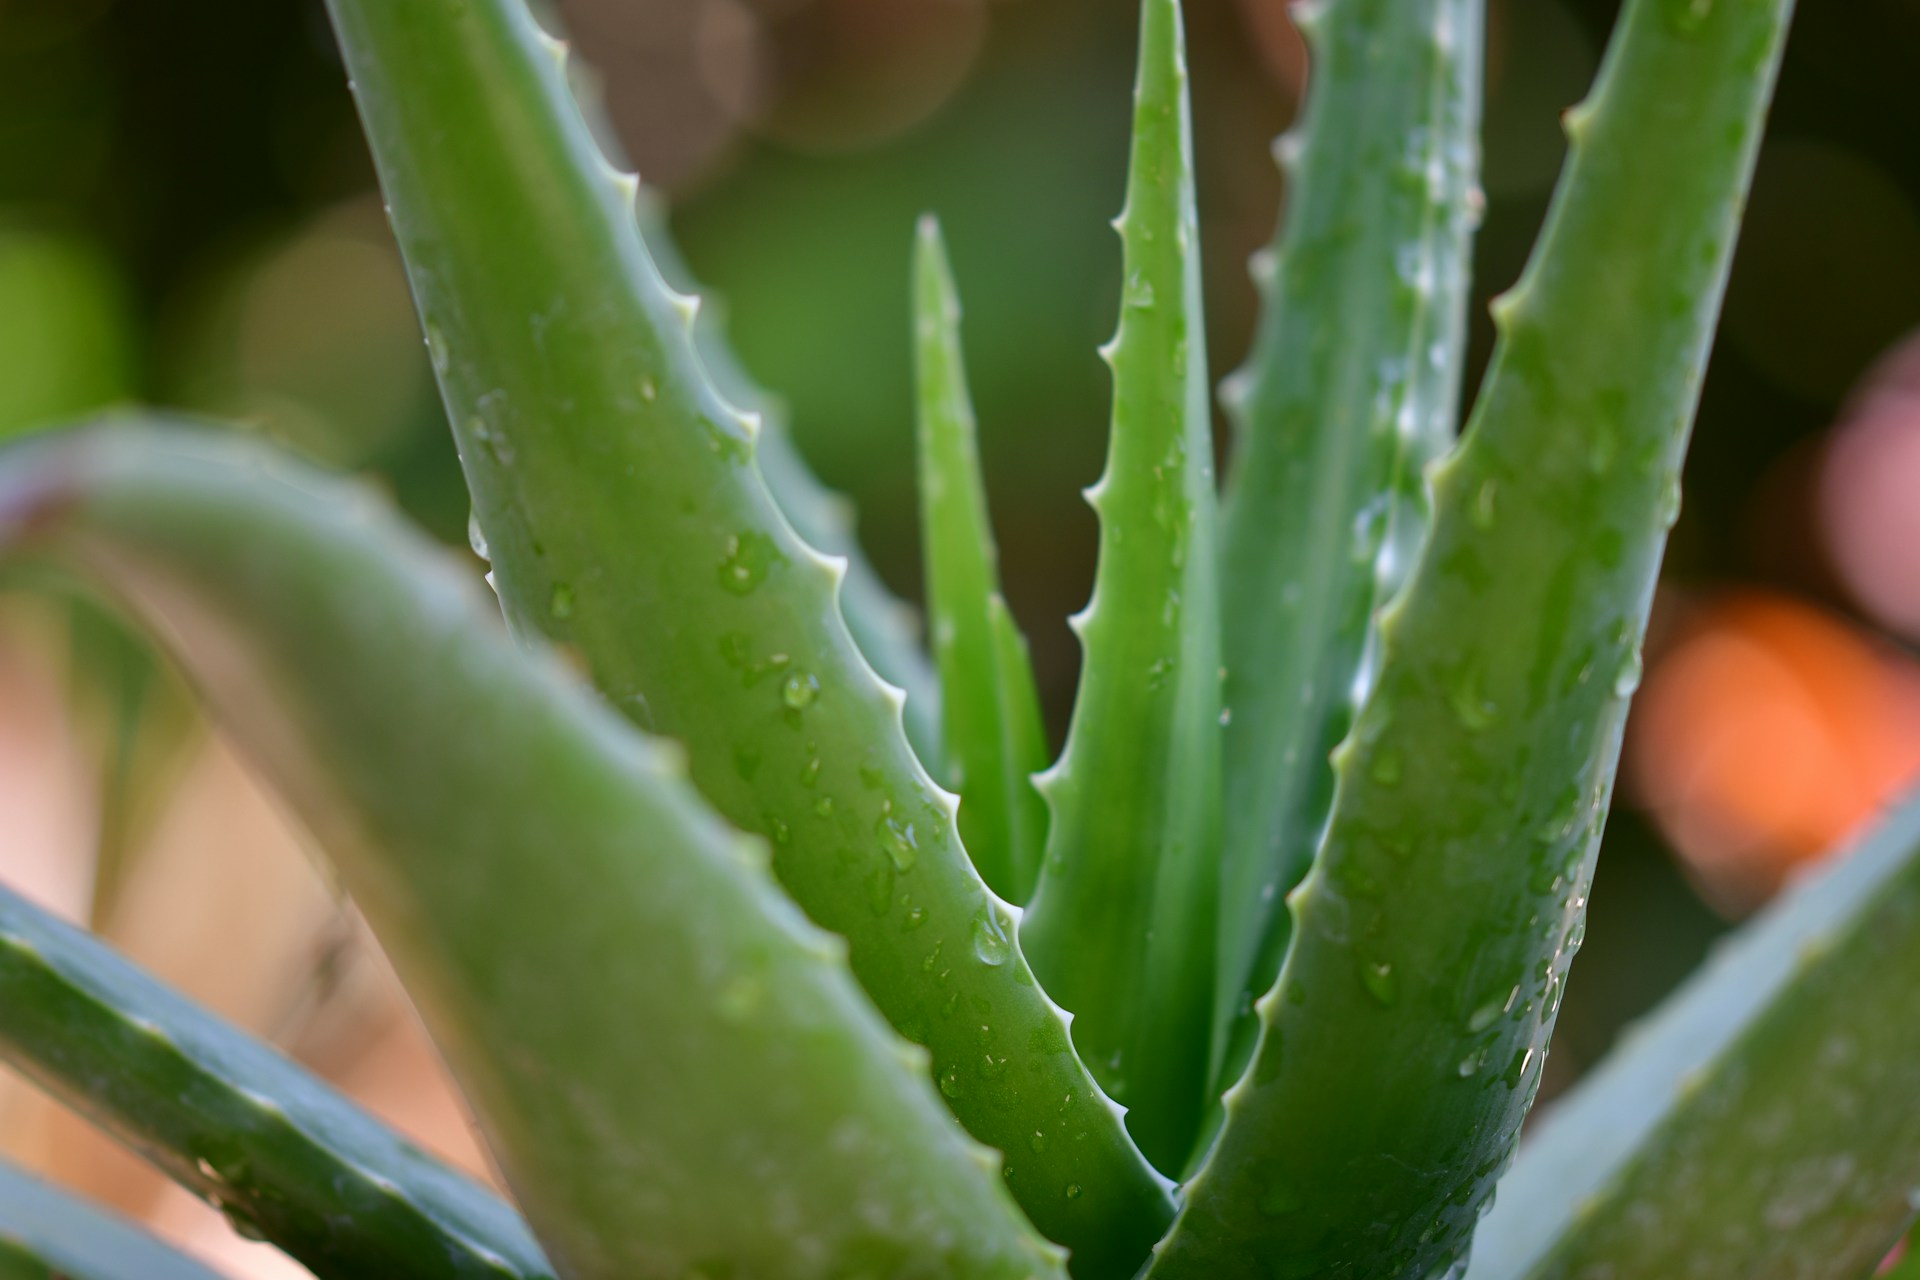
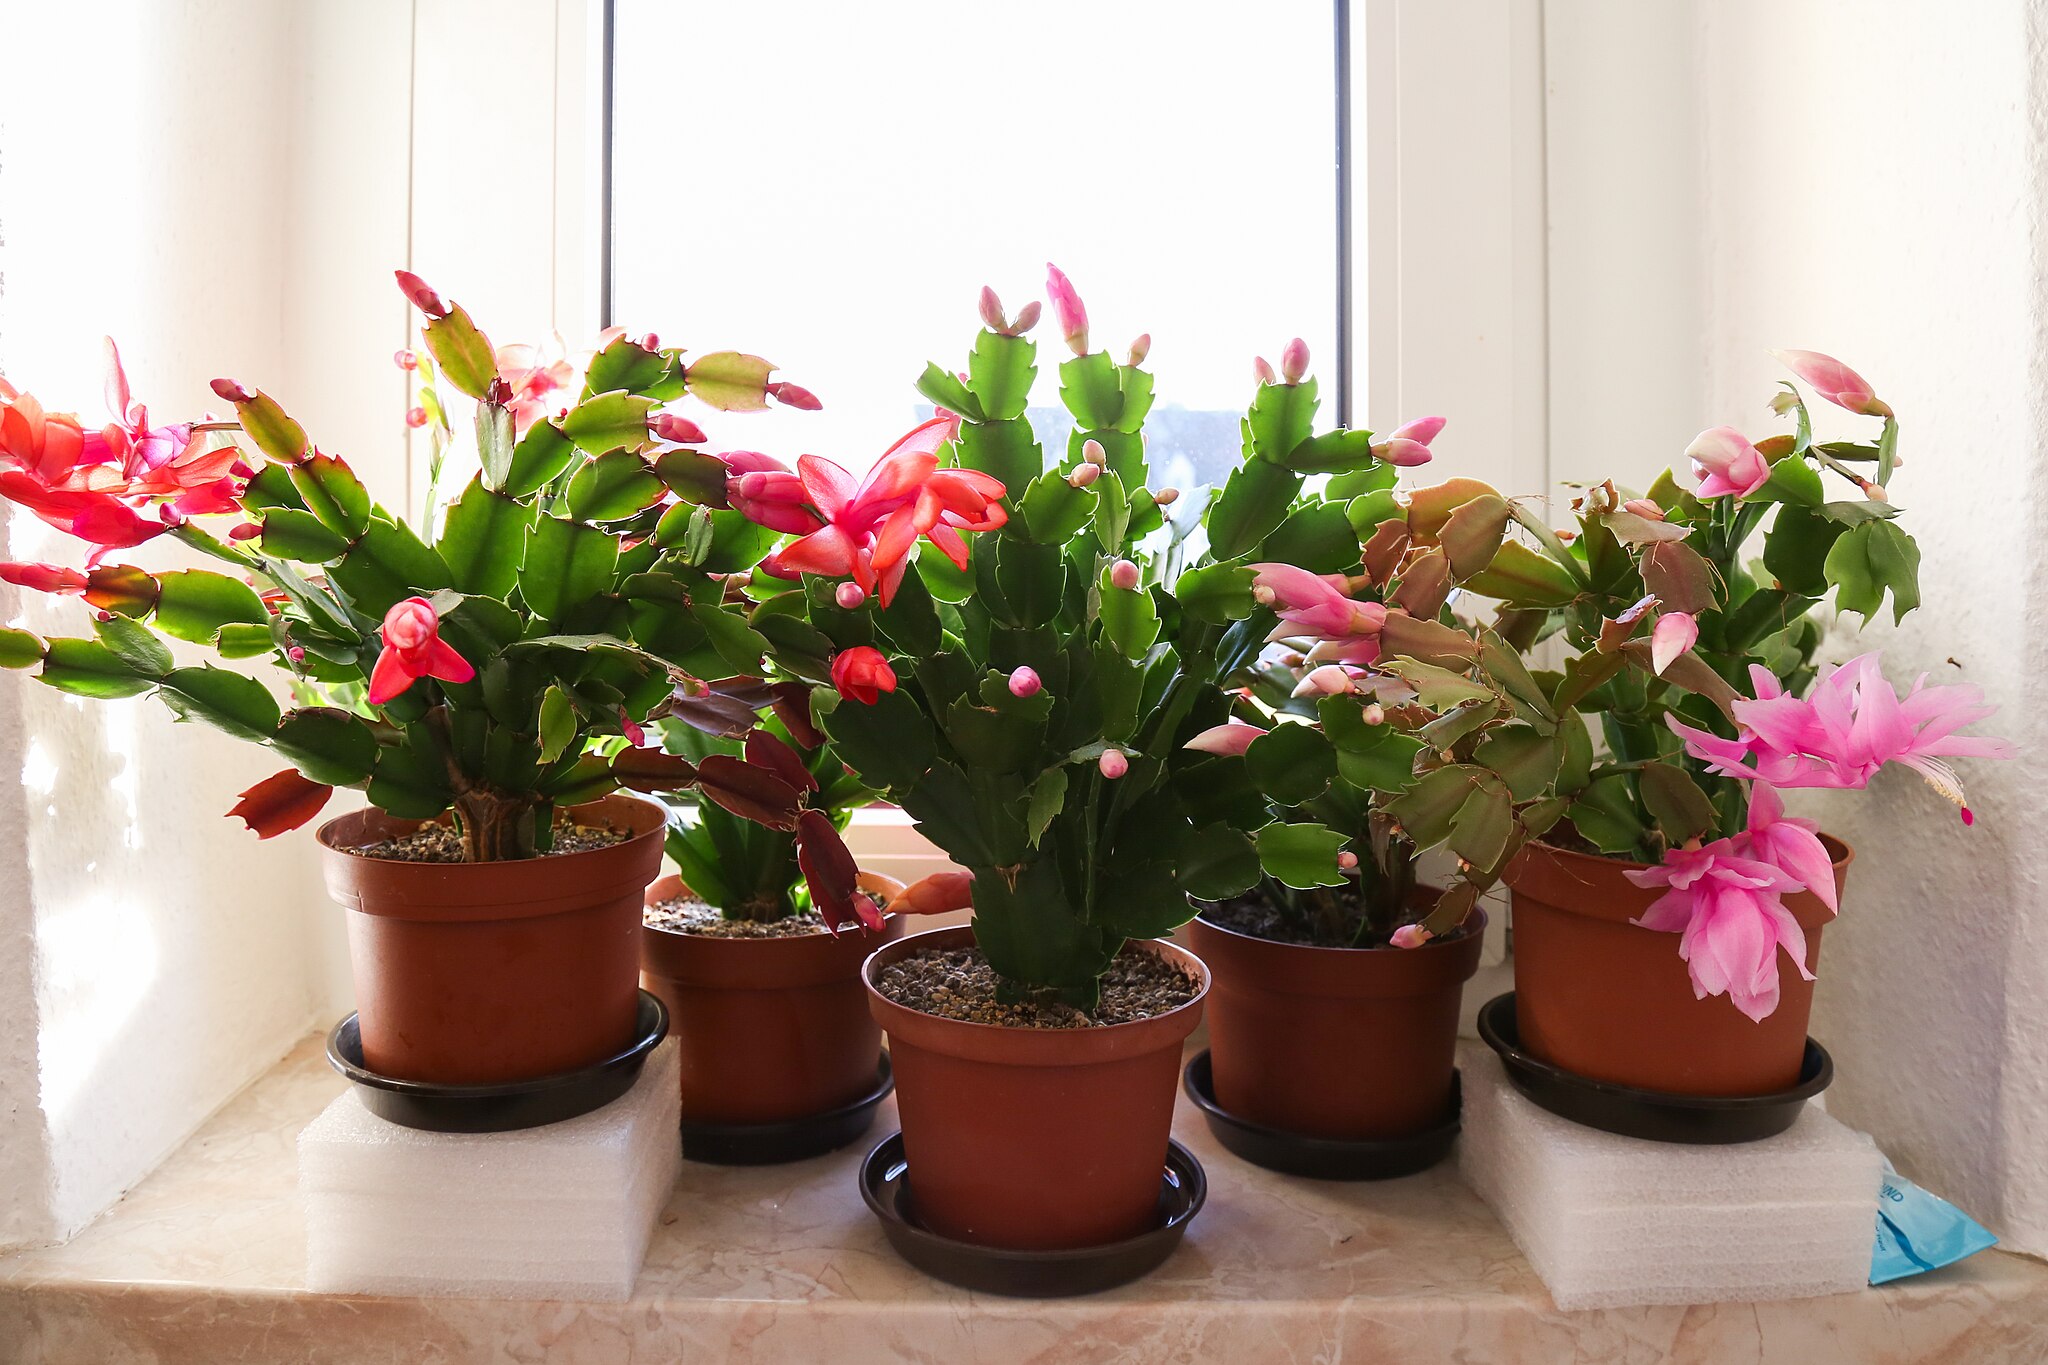
With these tips, you’ll confidently grow and care for your Burro’s Tail, enjoying its beauty for years to come. You also need not to stick to only one succulent if you want to discover more give a try to Aloe Vera and Christmas Cactus. And not only succulents we have also done some research on top 7 indoor plants.
Frequently Asked Questions
Do burro's tail flower?
Yes, Burro’s Tail can produce small, pink to red flowers in summer.
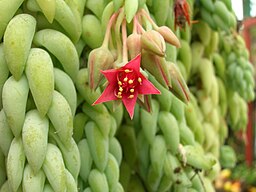
brewbooks from near Seattle, USA, CC BY-SA 2.0, via Wikimedia Commons
burro's tail vs donkey tail
Burro’s Tail and Donkey’s Tail are two names for the same plant, Sedum morganianum.
Why is my burro’s tail not full?
Your Burro’s Tail might not be full due to insufficient light, water, or nutrients.
Is burro's tail toxic to humans? / Is burro's tail plant toxic to cats?
Burro’s Tail is non-toxic to humans and safe to touch.
Burro’s tail plant is safe for cats.
Is burro's tail a cactus?
No, Burro’s Tail is a succulent, not a cactus.
Should I trim my donkey tail plant?
Yes, trimming helps maintain its shape and can be used for propagation.
Burro's tail plant benefits?
Burro’s Tail is a low-maintenance, decorative plant that enhances indoor spaces with its unique appearance. It also helps improve air quality by filtering toxins.
Why is my Donkey Tail losing leaves?
Your Donkey Tail may be losing leaves due to overwatering, underwatering, or too much direct sunlight. Read the how to care for Burro’s Tail Plant.
What is the best fertilizer for Donkey Tail?
Use a balanced, water-soluble fertilizer like this one in growing season (spring and summer).
Is Donkey Tail fast growing?
No, Donkey Tail is relatively slow-growing and can take time to develop its long, trailing stems.
.jpg)