IN THIS ARTICLE
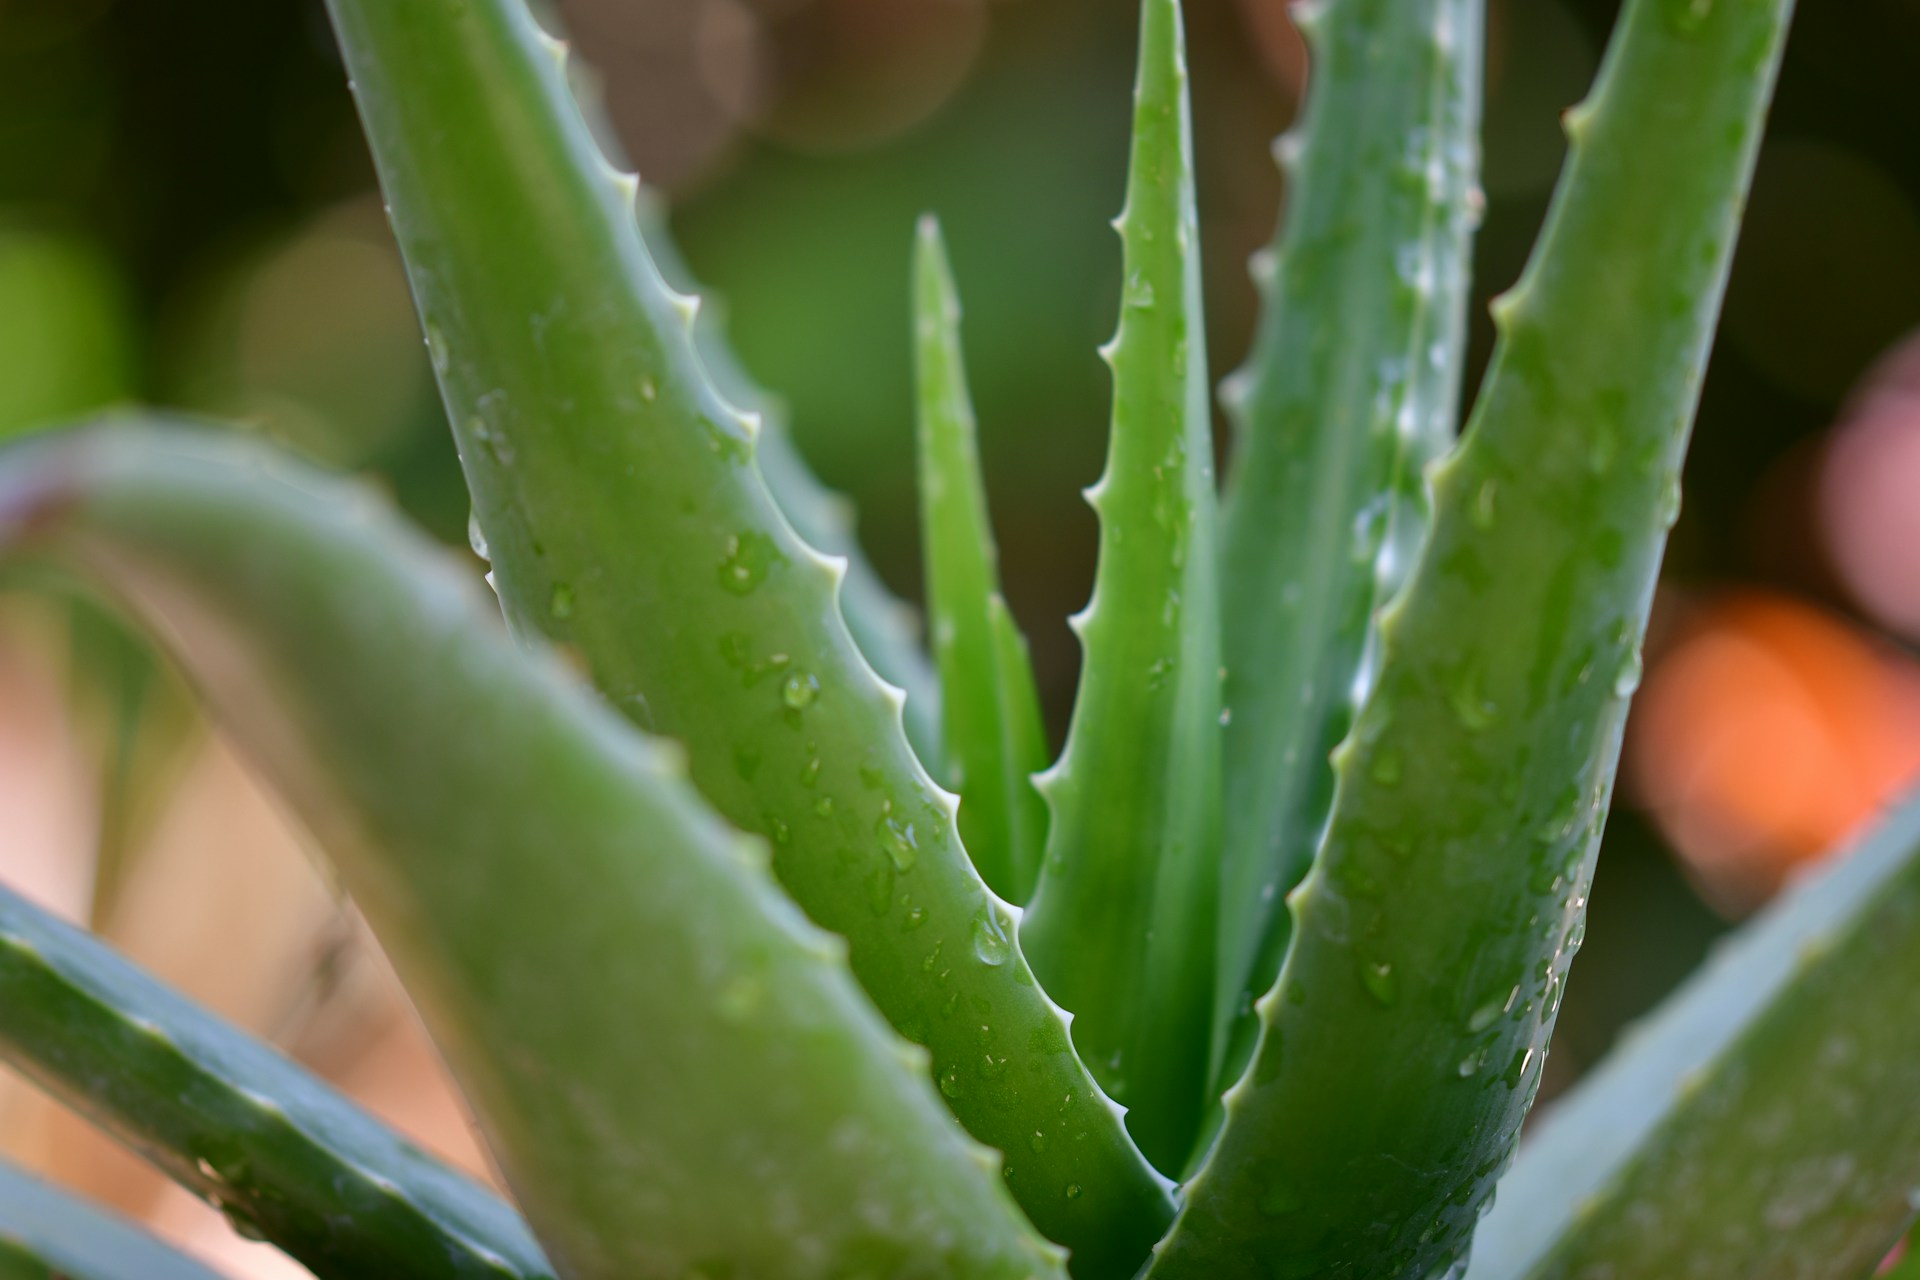
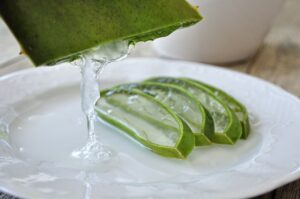
Aloe vera is a succulent plant famous for the benefits it offers. Its thick, fleshy leaves contain a soothing gel rich in vitamins, minerals, enzymes, and amino acids . It’s often called “Nature’s Healer” because of its many health benefits and uses in skincare, medicine, and even gardening.
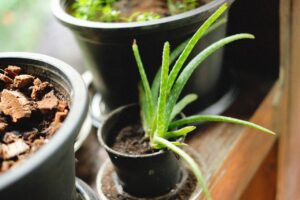
Did you finally decided to grow your own Aloe Vera plants? but you don’t know how to plant and care for them.
We’ve compiled the comprehensive guide on Aloe Vera plants with all the necessary information you need to know to get started. Keep reading to know more about the process to follow to plant and care for your aloe vera plant.
| Botanical Name | Aloe barbadensis miller |
| Family | Asphodelaceae |
| Plant Type | Succulent |
| Mature Size | 1-2 feet tall and wide |
| Sun Exposure | Full sun to partial shade |
| Soil Type | Well-drained, sandy soil |
| Soil pH | Slightly acidic to neutral (6.0-7.0) |
| Bloom Time | Summer |
| Flower Color | Yellow, orange |
| Hardiness Zones | 8-11 (USDA) |
| Native Area | Arabian Peninsula, North Africa |
Types of Aloe Vera Plants
There are at least 420 different plant species of Aloe Vera. Here are a few notable types of aloe plants, each with unique features and benefits:
| Name | Grown Indoors? | Unique Features |
|---|---|---|
| Aloe Vera (Aloe barbadensis miller) | ✓ | Most common type, Widely used for medicinal purposes, easy care |
| Aloe Arborescens (Tree Aloe) | ✓ | Has multiple branching stems, striking red flowers |
| Aloe Polyphylla (Spiral Aloe) | Challenging | Unique spiral leaf arrangement, rare and ornamental |
| Aloe Maculata (Soap Aloe) | ✓ | Leaves have distinct white spots, flowers can be orange or yellow |
| Aloe Ferox (Bitter Aloe) | ✓ | Produces bitter sap used in medicine, tall flower spikes |
| Aloe Brevifolia (Short-Leaf Aloe) | ✓ | Forms dense rosettes, bluish-green leaves turn reddish in full sun |
How to choose the right aloe vera plant
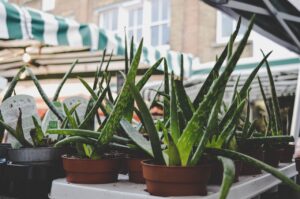
Choosing the Right Pot and Soil
Best pot for aloe vera plant
When it comes to planting an aloe vera plant in a pot, deciding what size pot for aloe vera you should choose for its healthy growth is crucial. Here are some tips to help you pick the best container for aloe vera plant:
| Pot | Specification | Recommended Dimensions (Width x Height) | Comments |
|---|---|---|---|
| Terracotta | Porous, breathable material |
|
Most Ideal: Suitable for various Aloe Vera sizes. Prevents overwatering and root rot. |
| Plastic | Non-porous, lightweight, retains moisture longer | Same | Less Ideal: Less Ideal for Aloe Polyphylla (Spiral Aloe) |
| Ceramic | Durable, retains moisture | Same | Ideal: Ideal for Aloe maculata. |
| Concrete | Heavy, stable | Same | Less Ideal: Concrete pots are stable but may not provide as much aeration as terracotta. |
| Grow bag | Breathable, promotes root health | Same | Ideal: Grow bags are excellent for promoting root health due to their breathable nature. |
Best soil for aloe vera
The sandy soil is most optimal for the development of Aloe vera. Its characteristics and properties include better drainage and an ideal pH for the development of the plant. Let’s see how we can make this soil mix for aloe vera.
| Soil | Best Mix | Comments |
|---|---|---|
| Propagation | 50% potting soil, 25% Perlite, 25% Coarse Sand Mix | Check out how to make your own mix here or buy a readymade Seed Starting Mix. |
| Potting Mix for Indoors | 50% potting soil, 50% perlite or coarse sand | Buy a readymade Cactus/Succulent Potting Mix. |
| Potting Mix for Outdoors | 40% potting soil, 40% perlite, 20% coarse sand or gravel | Buy a readymade Cactus/Succulent Potting Mix for outdoor use. |
Additional Tip:
Do not use regular garden soil or heavy soil that retains too much water.
Propagating Aloe Vera Plant
| Propagation Method: | Recommended | Difficulty | Comments |
|---|---|---|---|
| Offsets or “Pups” | ✔ | Easy | Aloe vera produces offsets around the base of the main plant. |
| Leaf Cutting | ✔ | Easy | A simple and effective method. |
| Seed | ✘ | Hard | Method is time consuming, germination and growth are slow. |
| Bulb | ✘ | Not Applicable | Aloe does not produce bulbs. |
| Division | ✔ | Moderate | Dividing the main plant into smaller sections, each with its own roots. |
| Layering | ✘ | Not Applicable | Layering technique is not used |
| Grafting | ✘ | Not Applicable | Complex and low success rate. |
Preparation for propagating the Aloe Vera Plant:
| Topic | Items | Comments |
|---|---|---|
| Safety | Gloves & Scissors | |
| Source | Pups, Seeds, Divisions, Leaf Cutting | Get your selected source item for propagation. |
| Soil | Propagation Mix | Use or make the appropriate propagation mix for best results. |
| Pot | Terracotta Pot | |
| Others | Repotting Mat | A good repotting mat constraints the mess created during the procedure. |
Propagating from seeds(How do you plant aloe vera seeds):
- Prepare the Soil: Use a well-draining succulent or cactus mix. Fill a shallow tray or small pots with this soil.
- Plant the Seeds: Sprinkle aloe vera seeds on top of the soil and lightly cover them with a thin layer of soil or sand.
- Water Gently: Mist the soil lightly with water to avoid washing away the seeds. Keep the soil moist but not soggy.
- Provide Light and Warmth: Place the tray or pots in a warm spot with indirect sunlight. Aloe vera seeds need warmth to germinate, usually between 70°F and 75°F (21°C to 24°C).
- Be Patient: Seeds can take 2-4 weeks to germinate. Once they sprout and grow a few inches tall, you can transplant them into individual pots.
Propagating from leaf cutting(How to grow aloe vera plant from leaves)
- Select a Healthy Leaf: Choose a thick, healthy leaf from the outer part of the plant.
- Cut the Leaf: Use a clean, sharp knife to cut the leaf off at the base.
- Let it Heal: Place the cut leaf in a warm, dry spot for a few days to let the cut end callous over. This helps prevent rot.
- Plant the Leaf: Once the end is calloused, plant the leaf cut end down in well-draining soil, burying about an inch of the leaf.
- Water Sparingly: Water the soil lightly and then wait. It can take a few weeks for roots to develop. Keep the soil barely moist during this period.
Propagating from Offsets (Pups)
- Identify Pups: Look for small aloe vera plants growing around the base of the parent plant. These are called pups or offsets.
- Separate the Pups: Carefully dig around the pup to expose its roots. Gently separate it from the parent plant, ensuring it has its own roots.
- Prepare a Pot: Fill a small pot with well-draining soil.
- Plant the Pup: Place the pup in the pot, making sure the roots are covered with soil. Press the soil gently around the base.
- Water and Care: Water the pup lightly and place it in a spot with indirect sunlight. As it grows, follow the regular care instructions for aloe vera.
Propagating from Division
- Separate into Sections: Carefully dig up the mature Aloe vera plant. Gently divide the plant into smaller sections, ensuring each has its own roots.
- Trim and Inspect: Trim away any damaged roots or leaves, and inspect each section for health.
- Allow Callusing: Let the divided sections air dry for a day or two to encourage callusing.
- Prepare Potting Mix: Fill pots with a well-draining potting mix.
- Plant Sections: Place each section in its own pot, ensuring roots are covered with soil.
- Water and Place: Water lightly and place pots in a warm, bright location with indirect sunlight.
- Monitor Growth: Keep an eye on new growth and continue regular care for the divided plants.
How to Grow Aloe Vera Plant Indoors
There are several ways to grow the Aloe Vera plant, both indoors and outdoors. The best method for beginners and home gardeners is to grow or propagate by the pups or offsets. Aloe Vera tends to shoot new pups often and it is really easy to grow a new Aloe Vera using these pups.
How to Grow Aloe Vera Outdoors
Aloe Vera outdoors will add glam to your garden landscape. To grow an Aloe Vera outdoors, you will need to transfer healthy offsets/pups from the pot to the ground and some amount of preparation.
How to Care for Aloe Vera
Here is the brief information on lighting, watering and all basic care needs of your Aloe Vera plant:
| Needs | Ideal State | Avoid | Frequency (if applicable) | Recommendations |
|---|---|---|---|---|
| Light | Bright indirect sunlight | Too much direct sunlight | N/A | Place it near the window. |
| Air Circulation | Good air flow around the plant | Stagnant air, crowded spaces | N/A | Ensure good airflow around the plant to prevent moisture buildup |
| Watering | Thorough watering until water drains from the drainage hole | Watering on a fixed schedule. Excess water in the plant saucer | Only water when top inch of the soil is dry | Avoid overwatering to prevent root rot. Reduce watering in winter. |
| Fertilizer | Use diluted fertilizer, Fertilize sparingly | Over-fertilize, fertilize in winter, using strong chemical fertilizers | Every 6-8 weeks during growing season | Use Organic options like banana peel fertilizer. Read more here. |
| Temperature | 55°F and 80°F (13°C to 27°C) | -5°C or below | N/A | Keep in a spot with consistent room temperature. Avoid placing in drafty areas or near air conditioners during winter |
| Humidity | Average household humidity (40% to 60%) is suitable | Excessive humidity | N/A | Ensure good ventilation; avoid overly humid environments to prevent mold and rot. |
| Pruning | Remove dead or damaged leaves | Excessive pruning | As needed | Avoid cutting healthy leaves unless necessary. |
| Repotting | Every 2-3 years, or when root-bound | Overly frequent repotting | Every 2-3 years | Avoid disturbing roots too often. |
| Pest Control | Regularly check for pests, treat promptly | Neglecting pest issues | As needed | Inspect regularly for pests like aphids or mealybugs. |
How to Care for Aloe Vera - Additional Tips:
Homemade Organic Fertilizer for Aloe Vera
Aloe vera doesn’t need much fertilizer, but a light feeding can boost its growth. Here are some options:
- Banana Peel Fertilizer For Aloe Vera: Soak banana peels in water for a few days and use this water to fertilize your aloe vera. This provides potassium and other nutrients.
- Best Homemade Fertilizer: Mix used coffee grounds with water or create a compost tea by soaking compost in water. These homemade options offer balanced nutrients.
Fertilize sparingly, about once or twice a year, in the growing season (spring and summer).
How to prune aloe vera and remove dead leaves
- Identify Dead or Damaged Leaves: Look for leaves that are brown, shriveled, or damaged.
- Use Clean Tools: Use a clean, sharp knife or scissors to prevent infection.
- Cut at the Base: Remove the dead leaves by cutting them off at the base, close to the soil. This helps keep the plant healthy and encourages new growth.
How to Repot the Aloe Vera Step by Step
Signs that indicate the need for repotting Aloe Vera:
- If roots are growing out of the drainage holes or the pot is broken/damaged.
- If the plant becomes big and heavy and keeps tipping over.
Choosing a New Pot and Soil for Aloe Vera:
- Choose a pot that is one size larger than the current one. Ensure it has drainage holes to prevent waterlogging. Check out our recommendation here.
- Use well drainage soil like sandy soil mix or cactus succulents mix.
Steps for Repotting Aloe Vera:
- Unpotting:
- Gently remove the aloe vera from its current pot, being careful not to damage the roots.
- Shake off excess soil from the roots. If any roots are rotten or damaged, trim them off.
- Planting:
- Fill the bottom of the new pot with a layer of the soil mix.
- Position the aloe vera in the new pot and fill around it with the soil mix, making sure the roots are well covered and the plant is stable.
- Watering:
- After repotting, water the plant lightly. Allow the soil to dry out before the next watering.
How to Harvest Aloe Vera: Easy Steps
- Select a healthy matured leaf at least 8-10 inches long from the outermost part of the plant.
- Use the sharp knife to cut the leaf at the base close to the stem. Cut at a slight angle to minimize damage to the plant.
- Cut the sides of the leaf and put it in a bowl for a maximum of 15 minutes to drain out the yellow latex.
- Lay the leaf flat and slice it open lengthwise. Use a spoon to scoop out the inner gel.
- You can use this gel outright after extraction or you can store it in the refrigerator. It can last up to a week when refrigerated.
- Freeze the gel in ice cube trays. Transfer the frozen cubes to a freezer bag. This method preserves the gel for several months.
Common Problems and Solutions
Flying Bugs in Aloe Vera Plant
Root Cause: Small flying bugs like fungus gnats are attracted to moist soil.
Solution: Let the soil dry out completely between waterings and use sticky traps.
Aloe Vera Bugs in Soil:
Root Cause: Pests like mealybugs can infest the soil.
Solution: Wash the roots and repot the plant. Treating with insecticidal soap if necessary.
Aloe Vera Mushy Leaves:
Root Cause: Mushy, discolored leaves indicate overwatering.
Solution: Remove affected leaves, let the soil dry, and ensure proper drainage. how to make soil for aloe vera.
Aloe Vera Plant Leaves Breaking:
Root Cause: Breaking leaves can be due to physical damage or a top-heavy plant.
Solution: Provide support and ensure adequate indirect sunlight.
Conclusion
Successfully growing and caring for aloe vera is achievable with the right knowledge and care. By choosing the appropriate type of aloe vera, using the best pot and soil, and following proper watering and light guidelines, you can ensure your plant thrives.
Understanding how to propagate, repot, and address common issues will keep your aloe vera healthy and vibrant.
This succulent is not only a beautiful member to your home or garden but also a useful one, providing natural remedies and benefits. Enjoy nurturing your aloe vera and reaping its many rewards!
Green love to you. Keep smiling. Ciao.