How to Plant and Care for Hens-and-Chicks Plant

Share This on

IN THIS ARTICLE

Types | Care | Propagating Steps | Repotting | Common Problems & Solution | FAQ

Table of Contents

The Sempervivum or Hens-and-Chicks are the succulents that thrive in mountainous and rocky regions. Its unique name comes from its growth pattern: the “hen” is the central, larger plant, while the “chicks” are the smaller offshoots that grow around it.

If you are an obsessive babysitter of plants and thinking how will you care for your Hens-and-Chicks or how to plant hens and chicks?

Best part? They barely need any babysitting and their planting is also easy. You will just need to know of their light, water and soil requirements which we have already covered in this comprehensive guide.

Photo by Derek Ramsey (Ram-Man), CC BY-SA 2.5, via Wikimedia Commons
Botanical Name Sempervivum tectorum
Family Crassulaceae
Plant Type Succulent
Mature Size 3-6 inches tall, 6-12 inches wide
Sun Exposure Full sun to partial shade
Soil Type Well-drained, sandy or rocky soil
Soil pH Neutral to slightly acidic (6.0-7.5)
Bloom Time Summer
Flower Color Pink, red, yellow
Hardiness Zones 3-8 (USDA)
Native Area Europe, particularly the mountains

Types of Hens and Chicks Plants

Here a quick look on the types of Hens and Chicks succulent, each with unique appearance.

Name Grown Indoors? Unique Features
Sempervivum tectorum
  • Green rosettes with reddish tips
Sempervivum arachnoideum
  • Tiny white hairs resembling cobwebs
Sempervivum calcareum
  • Green rosettes with striking red edges
Sempervivum ‘Pacific Blue Ice’
  • Cool blue-green leaves with purple tips

How to choose the right Hens and Chicks plant

You can go with any type of hen and chicks you want but if you are buying from nursery then you should know what you have to look for when selecting the Hen and Chicks plant. We have compiled some simple tips:

IM3847, CC BY-SA 4.0, via Wikimedia Commons
Look for Comments
Lively color Look for a variety of colors in the rosettes, from vibrant greens to deep purples and reds
Sturdy leaves The central rosette (the “hen”) is firm and upright, with compact leaves tightly clustered together.
No damage Ensure leaves and stems are not torn, broken, or discolored.
No disease Check for pests like aphids, mealybugs, or spider mites in between the rosettes and along the stem.
Size Hens-and-Chicks stay small, typically 3-6 inches tall and up to 12 inches wide
Shape Look for Hens-and-Chicks which have: Compact rosette shape, firm plump leaves, Densely packed foliage and Symmetrical appearance.
Environment
  • Full sun to partial shade
  • Well-draining soil
  • Dry conditions between watering
  • Good air circulation to prevent rot

Choosing the Right Pot and Soil

Best pot for Hens and Chicks Plant

Terracotta hens and chicks planter is the best choice for hens-and-chicks from the pots mentioned in the table below.

Pot Specification Dimensions (Width x Height) Comments
Terracotta Porous, breathable material
  • Width: 4-6 inches
  • Height: 3-4 inches
Ideal for Hens-and-Chicks as it provides excellent drainage and prevents root rot.
Plastic Non-porous, lightweight, retains moisture longer
  • Width: 4-6 inches
  • Height: 3-4 inches
Less ideal for Hens-and-Chicks due to moisture retention, which can lead to root rot.

Best soil for Hens and Chicks Plant

Best soil for hens and chicks depends on your specific needs. We have prepared the soil for propagation, potting mix for indoor and potting mix for outdoors.

Soil Best Mix Comments
Propagation 50% potting soil 25% Perline 25% Coarse Sand Mix Check out how to make your own mix here or buy a readymade Seed Starting Mix.
Potting Mix for Indoors 50% potting soil, 50% perlite or coarse sand Buy a readymade Cactus/Succulent Potting Mix.
Potting Mix for Outdoors 40% potting soil, 40% perlite, 20% coarse sand or gravel Buy a readymade Cactus/Succulent Potting Mix for outdoor use.

Additional Tip:
Do not use regular garden soil or heavy soil that retains too much water.

How to Grow Hens and Chicks Plant Indoors

To start growing Hens and Chicks indoor, you can acquire them from a local nursery or garden center, or you can propagate offsets from a friend who already has the plant. Place them in a location with bright, indirect light and use a well-draining succulent soil mix.

How to Grow Hens and Chicks Plant Outdoors

To grow the Hens and Chicks plant outdoors, you can directly plant the offset in soil with good drainage. Choose a sunny spot with a sandy area. Once established, Hens and Chicks are drought-tolerant and require minimal watering.

How to Propagate Hens and Chicks: Step-by-Step Propagation

We have multiple methods to propagate hens and chicks. You can choose from the table below which method you like best.

Propagation Method: Recommended Difficulty Comments
Offsets Easy Simply remove the offsets (chicks) and replant them.
Leaf Cutting Hard Leaves do not root well.
Seed Moderate Method is time consuming, germination and growth are slow.
Bulb Not Applicable Not Applicable Not a bulbous plant
Division of Rosettes Easy Dividing mature rosettes can be done to propagate the plant.
Layering Not Applicable Not Applicable Layering technique is not used
Grafting Not Applicable Not Applicable Not suitable or necessary for Hens-and-Chicks propagation.

Preparation for propagating the Hens and Chicks Plant:

Topic Items Comments
Safety Gloves & Scissors
Source Offset / seeds / leaf cutting / rosettes Get your selected source item for propagation.
Soil Propagation Mix Use or make the appropriate propagation mix for best results.
Pot Terracotta Pot
Others Repotting Mat A good repotting mat constraints the mess created during the procedure.

Propagating from Offsets:

This is probably the best way to plant hens and chicks.

  1. Removing Chicks: Carefully separate chicks from the mother plant.
  2. Planting: Plant chicks in well-draining soil, ensuring roots are covered.
  3. Rooting hens and chicks in water (Optional): Place chick in a container of water, changing water regularly.
  4. Transferring to Soil: Once roots develop, transfer chick to soil, burying roots and base.

Propagating Hens-and-Chicks from Seed

  1. Seed Sowing: Sprinkle seeds on the surface of well-draining soil.
  2. Moisture Control: Keep soil lightly moist, avoiding waterlogging.
  3. Patience: Seeds may take time to sprout, requiring weeks or even months.
  4. Growth: Watch for new growth, indicating successful germination.

Propagating from Division of Rosettes

  1. Rosette Separation: Carefully divide mature rosettes into smaller sections.
  2. Root Inspection: Ensure each section has healthy roots attached.
    Planting.
  3. Divisions: Plant divisions in fresh soil, burying roots and base.
  4. Establishment: Allow time for divisions to establish and grow new rosettes.

How to Care for Hens and Chicks

Here is the brief information on lighting, watering and all basic care needs of your hens and chicks plant:

Needs Ideal State Avoid Frequency (if applicable) Recommendations
Light Bright indirect sunlight Too much direct sunlight N/A Indoor: Place it near the window. Outdoor: Provide shade in summer.
Air Circulation Keep in a well distanced space Stagnant, humid air N/A Ensure the plant is in a well-ventilated area, especially indoors.
Watering Allow soil to dry out between waterings Watering on a fixed schedule. Excess water in the plant saucer Water when soil is completely dry Water thoroughly, then allow to dry out completely before watering again.
Fertilizer Use diluted fertilizer. Check the label of your liquid fertilizer for the recommended concentration. 1/8 teaspoon of fertilizer in 2 quarts of water
  • Rich fertilizers
  • Fertilize dry soil
  • Fertilize during dormancy
  • Over-fertilize
Once a month during growing season (spring and summer) Avoid fertilizing in winter.
Temperature 60-75°F (15-24°C) Extreme heat above 85°F (29°C) or frost N/A Protect from extreme temperatures.
Humidity Low to moderate High humidity N/A Avoid placing in humid areas like bathrooms.
Pruning Remove dead leaves and offsets Cutting healthy rosettes unnecessarily As needed
Repotting When plants outgrow their pot or soil becomes depleted Keeping in the same pot for too long Every 2-3 years Repot in spring or early summer.
Pest Control Inspect regularly and use natural pest control methods Using harsh chemicals As needed Use insecticidal soap or neem oil to treat infestations.

How to Prune Hens and Chicks

Pruning of Hens-and-Chicks is easy! Use clean scissors and be gentle with the rosettes. Just remove any dead or dying leaves and trim off the “chicks” if they overcrowd the “hen.”

How to Repot Hens and Chicks Step by Step

Signs that indicate the need for repotting:

It’s time to repot your Hens-and-Chicks if:

  1. The pot is overcrowded with “chicks.”
  2. Roots are growing out of the drainage holes.
  3. The soil dries out too quickly.

Choosing a New Pot and Soil for Hens and Chicks Plant:

  1. Pick a pot with good drainage.
  2. Use well-draining, sandy soil, like cactus mix.

Steps for repotting Hens and Chicks plant:

  1. Unpotting:
    • Gently remove the plant from its current pot. Shake off excess soil from the roots.
  2. Planting:
    • Place it in the new pot with fresh soil.Watering:
  3. Watering & Lighting:
    • Water lightly and place in bright, indirect sunlight.

Common Problems and Solutions

Here are all the problems your Hens and Chicks plant can face, with solution, so you don’t need to go anywhere esle for the solutions.

Hen and Chicks Turning Yellow?

Root Cause: Your hens and chicks are turning yellow or black, having mushy, soft leaves and leaves dropping off are all caused by the overwatering.

Solution: To solve this, carefully read the hens and chicks water requirements.

Hen and Chicks Drying?

Root Cause: The problems like leaves drying, leaves curling or browning at edges, and slow growth are caused by the underwatering.

Solution: Know how to water Hens-and-Chicks above.

Pest Infestation in Hens and Chicks

Root Cause: Aphids, mealybugs, and other pests can attack the plants.

Solution: Use insecticidal soap or neem oil. Regularly inspect the plants and remove any visible pests by hand.

Poor Drainage

Root Cause: Soil that doesn’t drain well can lead to root rot.

Solution: Use a well-draining soil mix and pots with drainage holes.

Frost Damage

Root Cause: Exposure to frost can cause leaves to turn black and die.

Solution: Protect the plants by bringing them indoors or covering them during cold snaps.

Sunburn

Root Cause: Intense, direct sunlight can scorch the leaves, causing them to turn brown or black.

Solution: Follow the hens and chicks light requirements which we have mentioned above.

Nutrient Deficiency

Root Cause: Lack of essential nutrients can cause poor growth and discoloration.

Solution: Follow the best practices for fertilizing hens and chicks.

Conclusion

Hens-and-Chicks (Sempervivum) is perfect for anyone who likes gardening. They can grow pretty much anywhere and look cool with their little rosette shapes, which makes them a nice addition to any garden or even inside the house.

Just make sure you know how to care for them. Watch out for pests and make sure the water doesn’t get stuck in the soil.

If you follow the simple tips in this article, your Hens-and-Chicks will do great and keep looking awesome for a long time.
Interested in other succulents?  Check out Aloe veraBurro’s tail plant and Christmas Cactus.

Frequently Asked Questions

Hens and chicks produce small, star-shaped flowers on tall stalks, usually in summer.

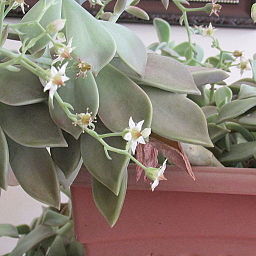
Brenda Garren, CC BY-SA 4.0, via Wikimedia Commons
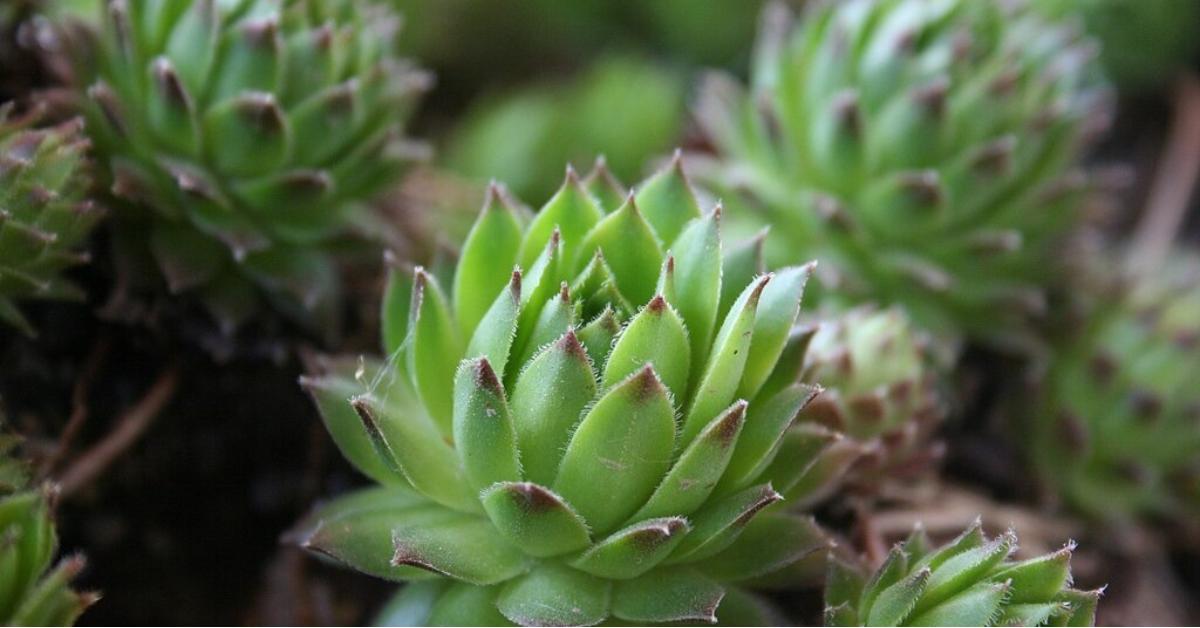
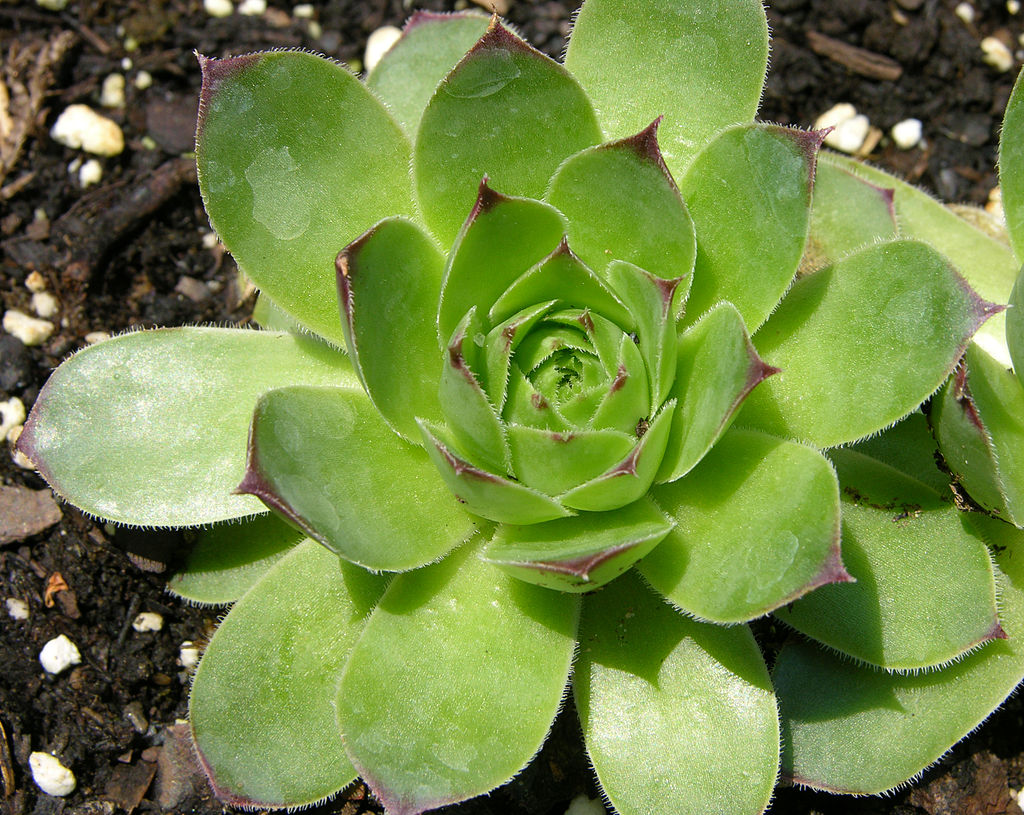
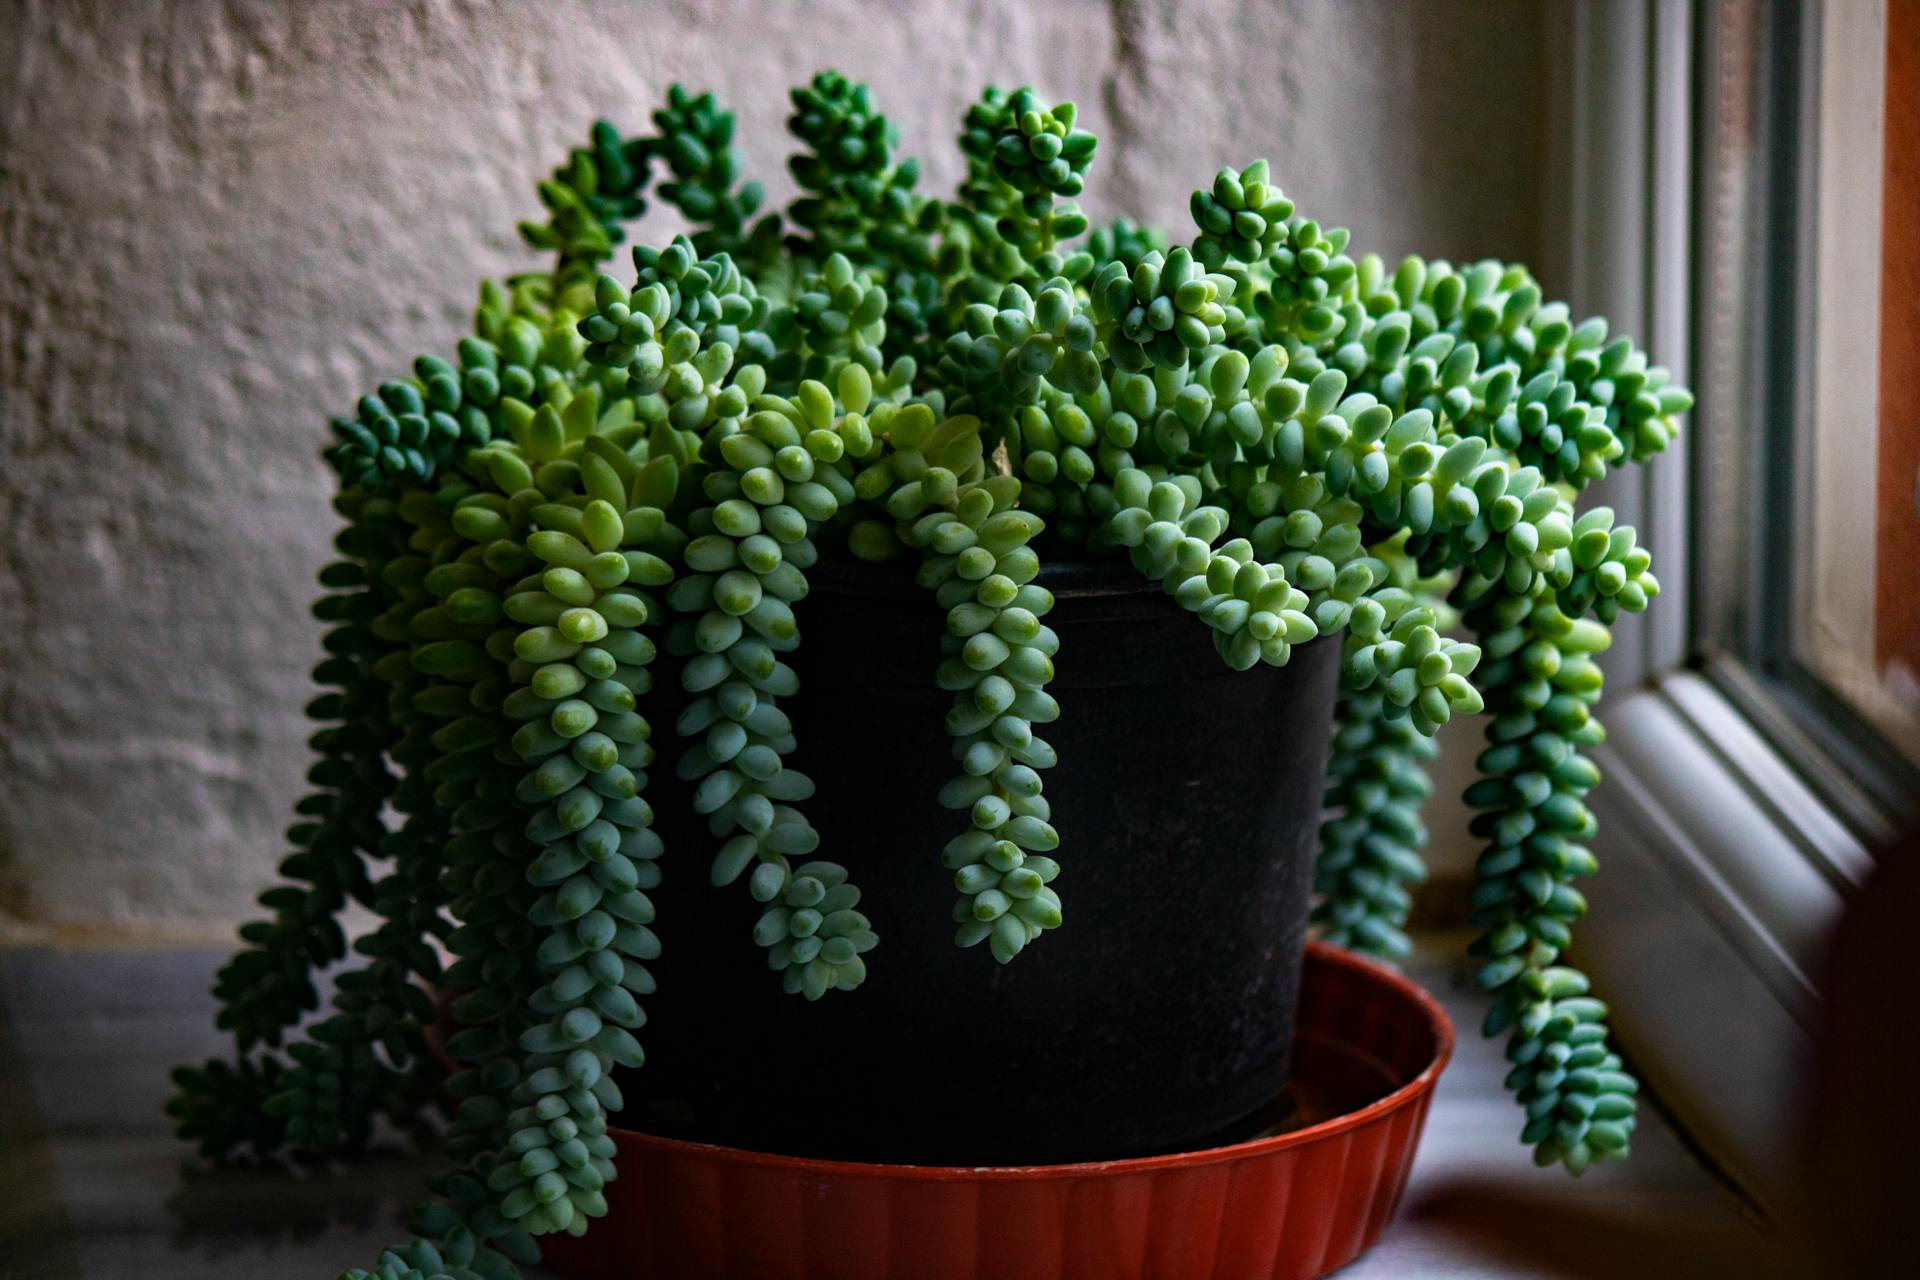
Yes, hens and chicks (Sempervivum) are succulent plants known for their rosette-shaped foliage.

Hens and chicks succulents are not typically consumed as they are grown primarily for ornamental purposes.

Yes, hens and chicks are perennial plants, meaning they live for more than two years.

Hens and chicks are cold-hardy and can survive winter, especially with proper drainage and protection from excessive moisture.

Hens and chicks thrive in full sun to partial shade, with at least 6 hours of sunlight daily for best growth.
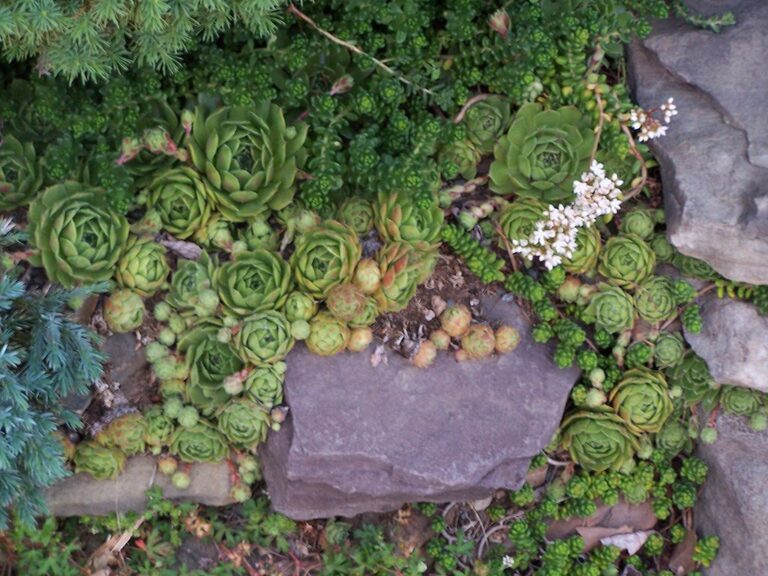
Hens and chicks spread slowly, forming offsets (chicks) around the main plant (hen) over several years.

Hens and chicks seeds are tiny and resemble dust-like particles, often dispersed by wind.

Hens and chicks may die due to overwatering, poor drainage, or extreme heat or cold.

Snails, slugs, and birds are common pests that may eat hens and chicks plants.

Hens and chicks plants are not known to be poisonous to humans.

Hens and chicks plants are non-toxic to cats, making them safe for homes with pets.

You Might Also Like ✾

Leave a Comment

Your email address will not be published. Required fields are marked *

Scroll to Top